Kids learning to cook with Julianna Banana

Juliette with her strawberry shortcake. We rushed the final step and the whip cream went on to a still warm cake so while not as tidy as Juliette hoped, we were able to share a delicious dessert with family.   [image of a 12 year old white girl sitting at a table with her face down low, behind a green plate with a home made strawberry shortcake.]

Juliette with her strawberry shortcake. We rushed the final step and the whip cream went on to a still warm cake so while not as tidy as Juliette hoped, we were able to share a delicious dessert with family.

[image of a 12 year old white girl sitting at a table with her face down low, behind a green plate with a home made strawberry shortcake.]

Making sure my kids learn to cook from a young age has always been a priority for me - partially so I know they have the skills they need when they move out, but also so that I don’t have to do as much of the cooking while they’re still at home.

That’s one of the reasons that I love that Julianna Banana is all about teaching kids these skills - and teaching them way better than just how to make Kraft Dinner or how to throw a frozen pizza in the oven! :)

Juliette got to try out the Holiday box last December, and this month she got the Summer box (and even made her first unboxing video - see below!).

Julianna Banana aims to inspire kids and families to get baking, cooking and creating in the kitchen all while learning about food, having fun, and gaining an appreciation for the importance of community and giving back.

They provide culinary experiences for kids and families, ranging from Classes to Culinary Boxes for Kids which combine the fun of a class with a collection of kid-friendly recipe cards, kitchen tools, science activities and more.

What exactly is a culinary box?

Finished pizza ready to eat! [image of two 12 year olds standing in front of a patio door at night holding plates with pieces of the pizza they just made, ready to eat]

Finished pizza ready to eat!

[image of two 12 year olds standing in front of a patio door at night holding plates with pieces of the pizza they just made, ready to eat]

This box is a great mix of recipes, an experiment, an activity, kitchen tools, and support (you can join live online classes for some of the recipes!). My two 12 year olds were able to complete 3 of the recipes in a couple of days with very minimal support from me.

The Julianna Banana Summer Box contains

  • A collection of kid-friendly recipe cards and booklet, summer faves like homemade strawberry jam, strawberry shortcake, homemade pizza, charcuterie and more.

  • Locally sourced kitchen tools to get your junior chef cooking

  • Teacher-crafted food science activity ; the science of ice cream!

  • DIY Honey Lip Balm Kits; includes local HONEY 🍯 and Beeswax, tins, plus tags, gift pouch for gifting activity. Make one for a friend!

  • handmade fabric jam jar covers and accessories. Make some jam, jar it and gift it! Recipe, fabric, tags and ribbon included.

  • Julianna Banana Apron

  • Functional storage box to store tools and recipes

  • A complimentary LIVE virtual class August and September (we’ll make Pizza together), recipe included.

  • Recipe notebook and additional kitchen tool, plus FREE shipping to Ottawa provided with Subscriptions ( set of Summer, Harvest and Holiday Boxes)

  • Each one is individually curated and addressed to your junior chef.

A fundamental pillar of Julianna Banana is to support local businesses and to give back to the community. Materials in our Culinary Boxes including kitchen tools and accessories are sourced whenever possible from local vendors. Recipe cards are designed and printed in Ottawa and our Julianna Banana apron is made and printed in Canada.

Quinn adding the sugar to the strawberries as they made the jam  [image of a 12 year old white boy pouring sugar into a large pot of strawberries on a table top burner with a variety of kitchen tools around them and his sister’s arm in the corner]

Quinn adding the sugar to the strawberries as they made the jam

[image of a 12 year old white boy pouring sugar into a large pot of strawberries on a table top burner with a variety of kitchen tools around them and his sister’s arm in the corner]

What did we think?

  • Juliette: Julianna Banana was awesome! It was super fun and I really enjoyed  making the recipes. And the meals were so delicious (the strawberry shortcake was my favourite)! I’ll definitely make them again!

  • Quinn: Julianna Banana was good. It gave instructions that were easy to understand to make yummy meals that are just so good. My favourite recipe was the strawberry jam. I would do it again because it made cooking fun. I recommend it.

  • Mom:
    The variety of kinds of recipes and activities was great! Desserts, something that will last a long time (jam), a main course and things for gifting (jam and lip balm.)

  • I often think there aren’t enough activities that are easy for parents to do with their kid. This would make a great gift for a parent looking to have an activity for some quality bonding time.

  • Aside from a few moments where I had to let go of how the kids interpreted the instructions and let them do their own thing (because I was looking for something I DIDN’T need to be involved in 😀), it was amazing. The kids were able to make 3 very different recipes independently that all tasted delicious!

  • This was the first activity my twins have done together without arguing in a long time, and for that alone it was a great win!

3 jars of delicious strawberry jam made from scratch. Perfect for gifting, or, eating yourself if you’re these two! [Photo of two white 12 year olds standing in front of patio doors with a play structure and trampoline in the background, holding three jars of strawberry jam up while one gives a thumbs up]

3 jars of delicious strawberry jam made from scratch. Perfect for gifting, or, eating yourself if you’re these two! [Photo of two white 12 year olds standing in front of patio doors with a play structure and trampoline in the background, holding three jars of strawberry jam up while one gives a thumbs up]

How can you purchase one

You can sign up for the summer box, a bundle of three boxes, or individual online cooking classes from the Julianna Banana Web site. Summer boxes are ready for pick up and delivery this week!

Individual boxes are $65 and you can pick up at several locations around the city or for a fee have it delivered.

When you purchase the 3 box bundle it comes with free shipping in the Ottawa area.

We love working with Julianna Banana because the kids really do love the resources and all of the people we know who either purchased boxes or have taken classes have found them to be really well done and keep coming back to buy again. We also love that they are committed to supporting local and giving back to local charity. They are currently fundraising $3000 from Culinary Boxes and Classes for the Ottawa Network For Education.

Check them out!

Please note, Julianna Banana is a Kids in the Capital sponsor and we were provided the summer box. All thoughts and feedback are based on our personal experience with the box.

Think Cottage Life: Ideas On How To Take Advantage Of A Slow Down

By Angèle Alain

This outbreak curve flattening strategy of social distancing is making many Ottawa families anxious and nervous about fighting off boredom. In my case, I’m revelling in the idea of a forced slowdown, a time to rest body and mind, build up immune systems and do so many things we never do because life is just too busy. This is how I suggest approaching the next few weeks. The odds are, we will remember this situation forever, why not create positive memories too.

Think cottage life. 

The cottage is usually where we naturally slow down. It’s where we play cards, dig out the yarn and knitting needles, crack open the Monopoly box (I prefer Cards Against Humanity, but that’s me) or bake something with wild raspberries. It’s where, on a rainy day, there’s nothing “usual” to do, so we give ourselves permission to help the kids build a fort with all those spare blankets. It’s where we watch old movies, read old magazines. 

So here is a list of things to do on your own or with your family:

  • Play a board game or a video game as a group. Dig out the older ones for novelty;

  • Finally get to sewing repairs;

  • Marie Kondo the mess out of your house (declutter and donate);

  • Pair down a collection and organise it: photos, books, records, etc.;

  • Try knitting a scarf or neck warmer: it’s just a rectangle you sew both ends together;

  • Dig out your childhood memory box and share with your kids;

  • Colour in a colouring book: try with wood pencils, then with markers; 

  • Find all that leftover cardboard and paper, or raid the recycling box to make crafts;

  • Read that book you’ve been wanting to read or re-read;

  • Play cards or build card castles;

  • Organise your cupboards or your closets;

  • Clean your windows and walls. It is almost spring, after all;

  • Clean out the garage;

  • Paint your walls or old furniture;

  • Rearrange your furniture;

  • Finally use those paints and canvases someone gave your kid;

  • Bake creative cookies, muffins or bread with what’s in the cupboard or the freezer;

  • Do a puzzle; 

  • Make a model or a Lego-type kit;

  • Cook with food that’s about to go bad and freeze it;

  • Build a blanket and chair fort;

  • Learn something new from a YouTube tutorial;

  • Learn basic sentences in a new language (you will travel again!) or in sign language;

  • Watch a film from your childhood with your children: The Breakfast Club, Gremlins, Close Encounter of the Third Kind, the original Ghostbusters, the list is endless;

  • Finally put photos in the frames you bought and hang those frames;

  • Write and mail someone a letter or make someone a handmade card;

  • Try a science experiment, there are many easy instructions online;

  • Play an instrument you have and you know how to play;

  • Write a short story, a poem or a song;

  • Dig out your favourite music from your teens and share it with your loved ones;

  • Make music playlists on your platform of choice like you would mix-tapes (I showed my age there, didn’t I?)

  • Try a new workout or yoga tutorial: there are some good ones on YouTube for small children like Cosmic Kids Star Wars;

  • Follow nail, makeup and hair tutorials for fun;

  • Play dress up and put on a fake Halloween party or fashion show;

  • Go for walks with your animals. Try it with the cat too, it’s funny; 

  • Go snowshoeing if there’s still snow.

I hope this list motivates you as much as it motivates me. I could have kept going but I think you get the idea.

Recipe: Kid-Approved Frozen Fruit Smoothie

Smoothies are a delicious and easy way to get in a healthy dose of fruits (and vegetables!) into your diet. My eleven year old daughter loves smoothies and insisted we share one of her favourite recipes that she began making herself (with a little supervision) a few years ago. She loves smoothies as part of her morning breakfast and sometimes makes enough for several smoothies to either share or save for later. You can also freeze the blended mix into popsicle moulds for a tasty frozen treat! The below is her recipe as written by her and she also took the pictures. :)

Kid-Approved Frozen Fruit Smoothie

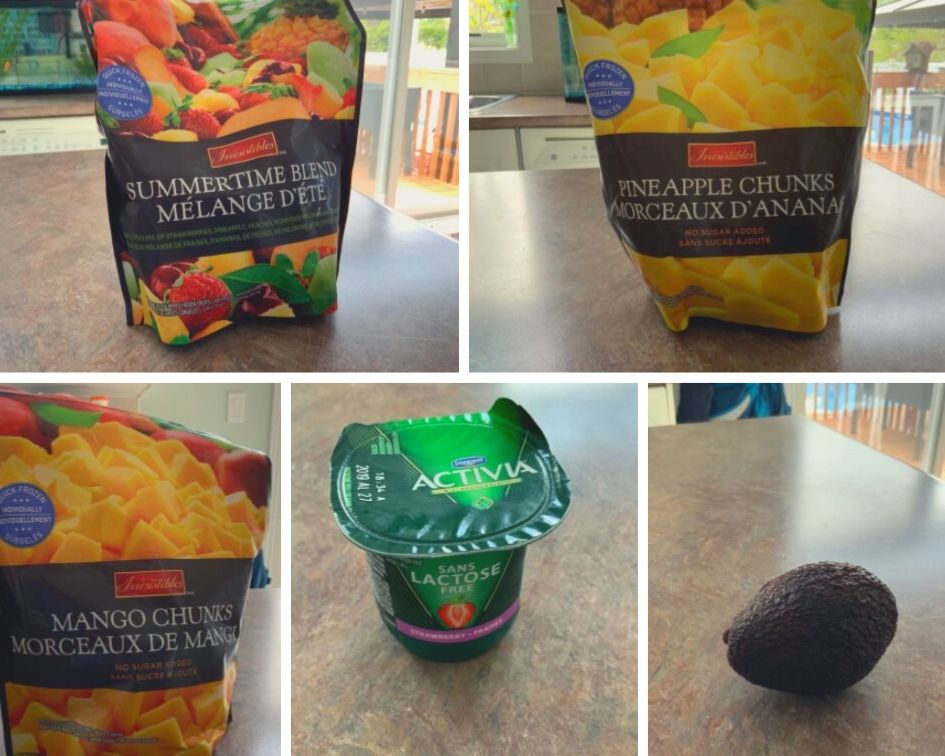
The main ingredient is frozen fruit! We buy whatever is on sale that week, but mango is always in the recipe because it tastes the best.


Blend together:

  • 1 avocado (or 1 medium banana) - this makes the smoothie creamy

  • 1 cup frozen berries

  • 1/2 cup frozen mango!

  • 1/4 cup of vanilla or your favourite yogurt (or one of the small lunch containers)

  • 1 teaspoon honey

  • 1 cup of water or milk (or more depending on how much frozen fruit you used - sometimes I put in too much and it jams the blender)

My mom sometimes adds some spinach or kale. I don’t.

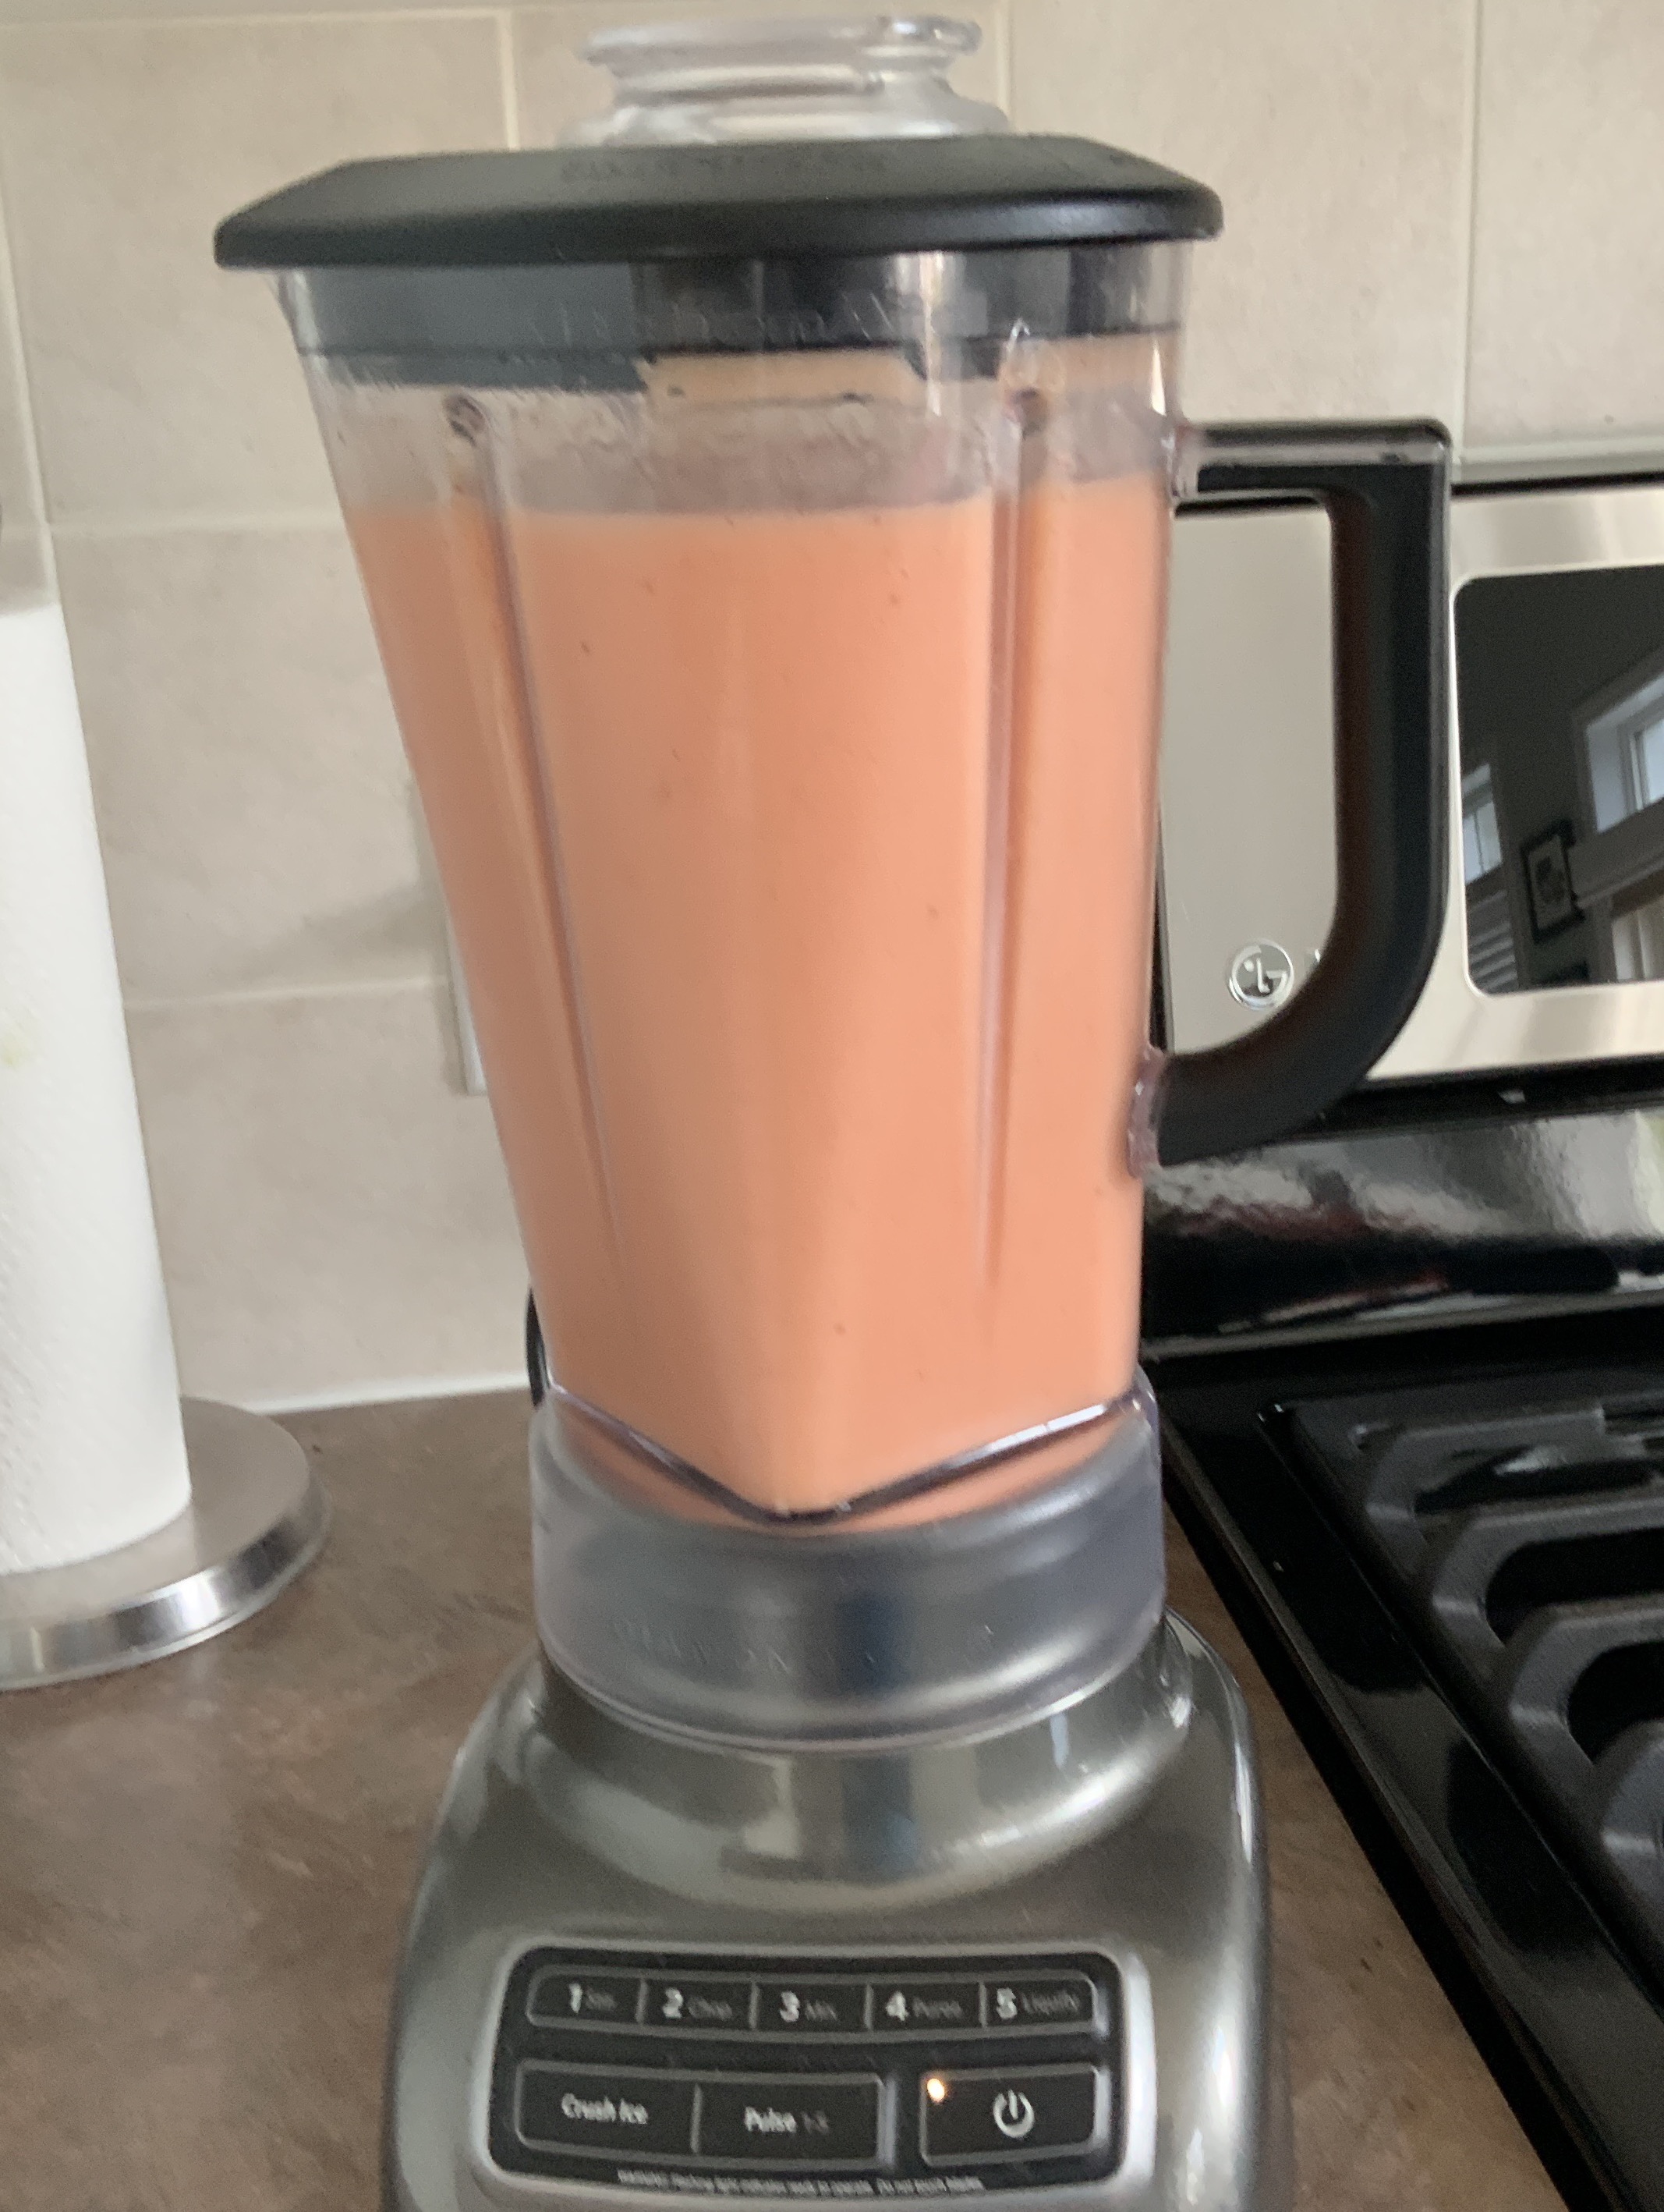
Blend all ingredient until smooth then pour into a big cup and enjoy! Or if you made too much put it in the fridge for later. Yum!

Wacky Cake: The Easiest Chocolate Cake You'll Ever Make

Wacky Cake is seriously the easiest chocolate cake you’ll ever make. I discovered it last year when my mom made it for my daughter. My mom got the recipe from my aunt… meanwhile, a close friend says she’s been making it for years. I cannot believe I did not know about this recipe before then! I am telling you - this chocolate cake is not only simple to make it is delicious!

According to Wikipedia, Wacky Cake may have been created as the result of rationing during World War II, when milk and eggs were scarce. “The cake is considered a popular delicacy at bake sales in numerous rural regions of the United States.” Given how simple it is to make and how delicious it is - I can see why!

Wacky Cake Recipe

Preheat oven to 350 degrees Celsius

Ingredients

  • 1 tsp baking soda

  • 1 1/2 cups all purpose flour

  • 1/2 tsp salt

  • 3 tbsp cocoa

  • 1 cup of white sugar

Mix all of the dry ingredients in a 9x9 pan. Once they are mixed, make three wells and then pour in:

Wacky Cake: The Easiest Chocolate Cake You'll Ever Make

  • 1 tbsp vinegar (into one well)

  • 1 tsp vanilla (into the other)

  • 5 tbsp oil (into the third well, don’t worry if it spills over)

Pour 1 cup of water over everything and then mix together with a fork. Once well mixed, pour 1 cup of chocolate chips over the batter (you can also add chopped pecans, if desired).

Bake for 30 minutes.

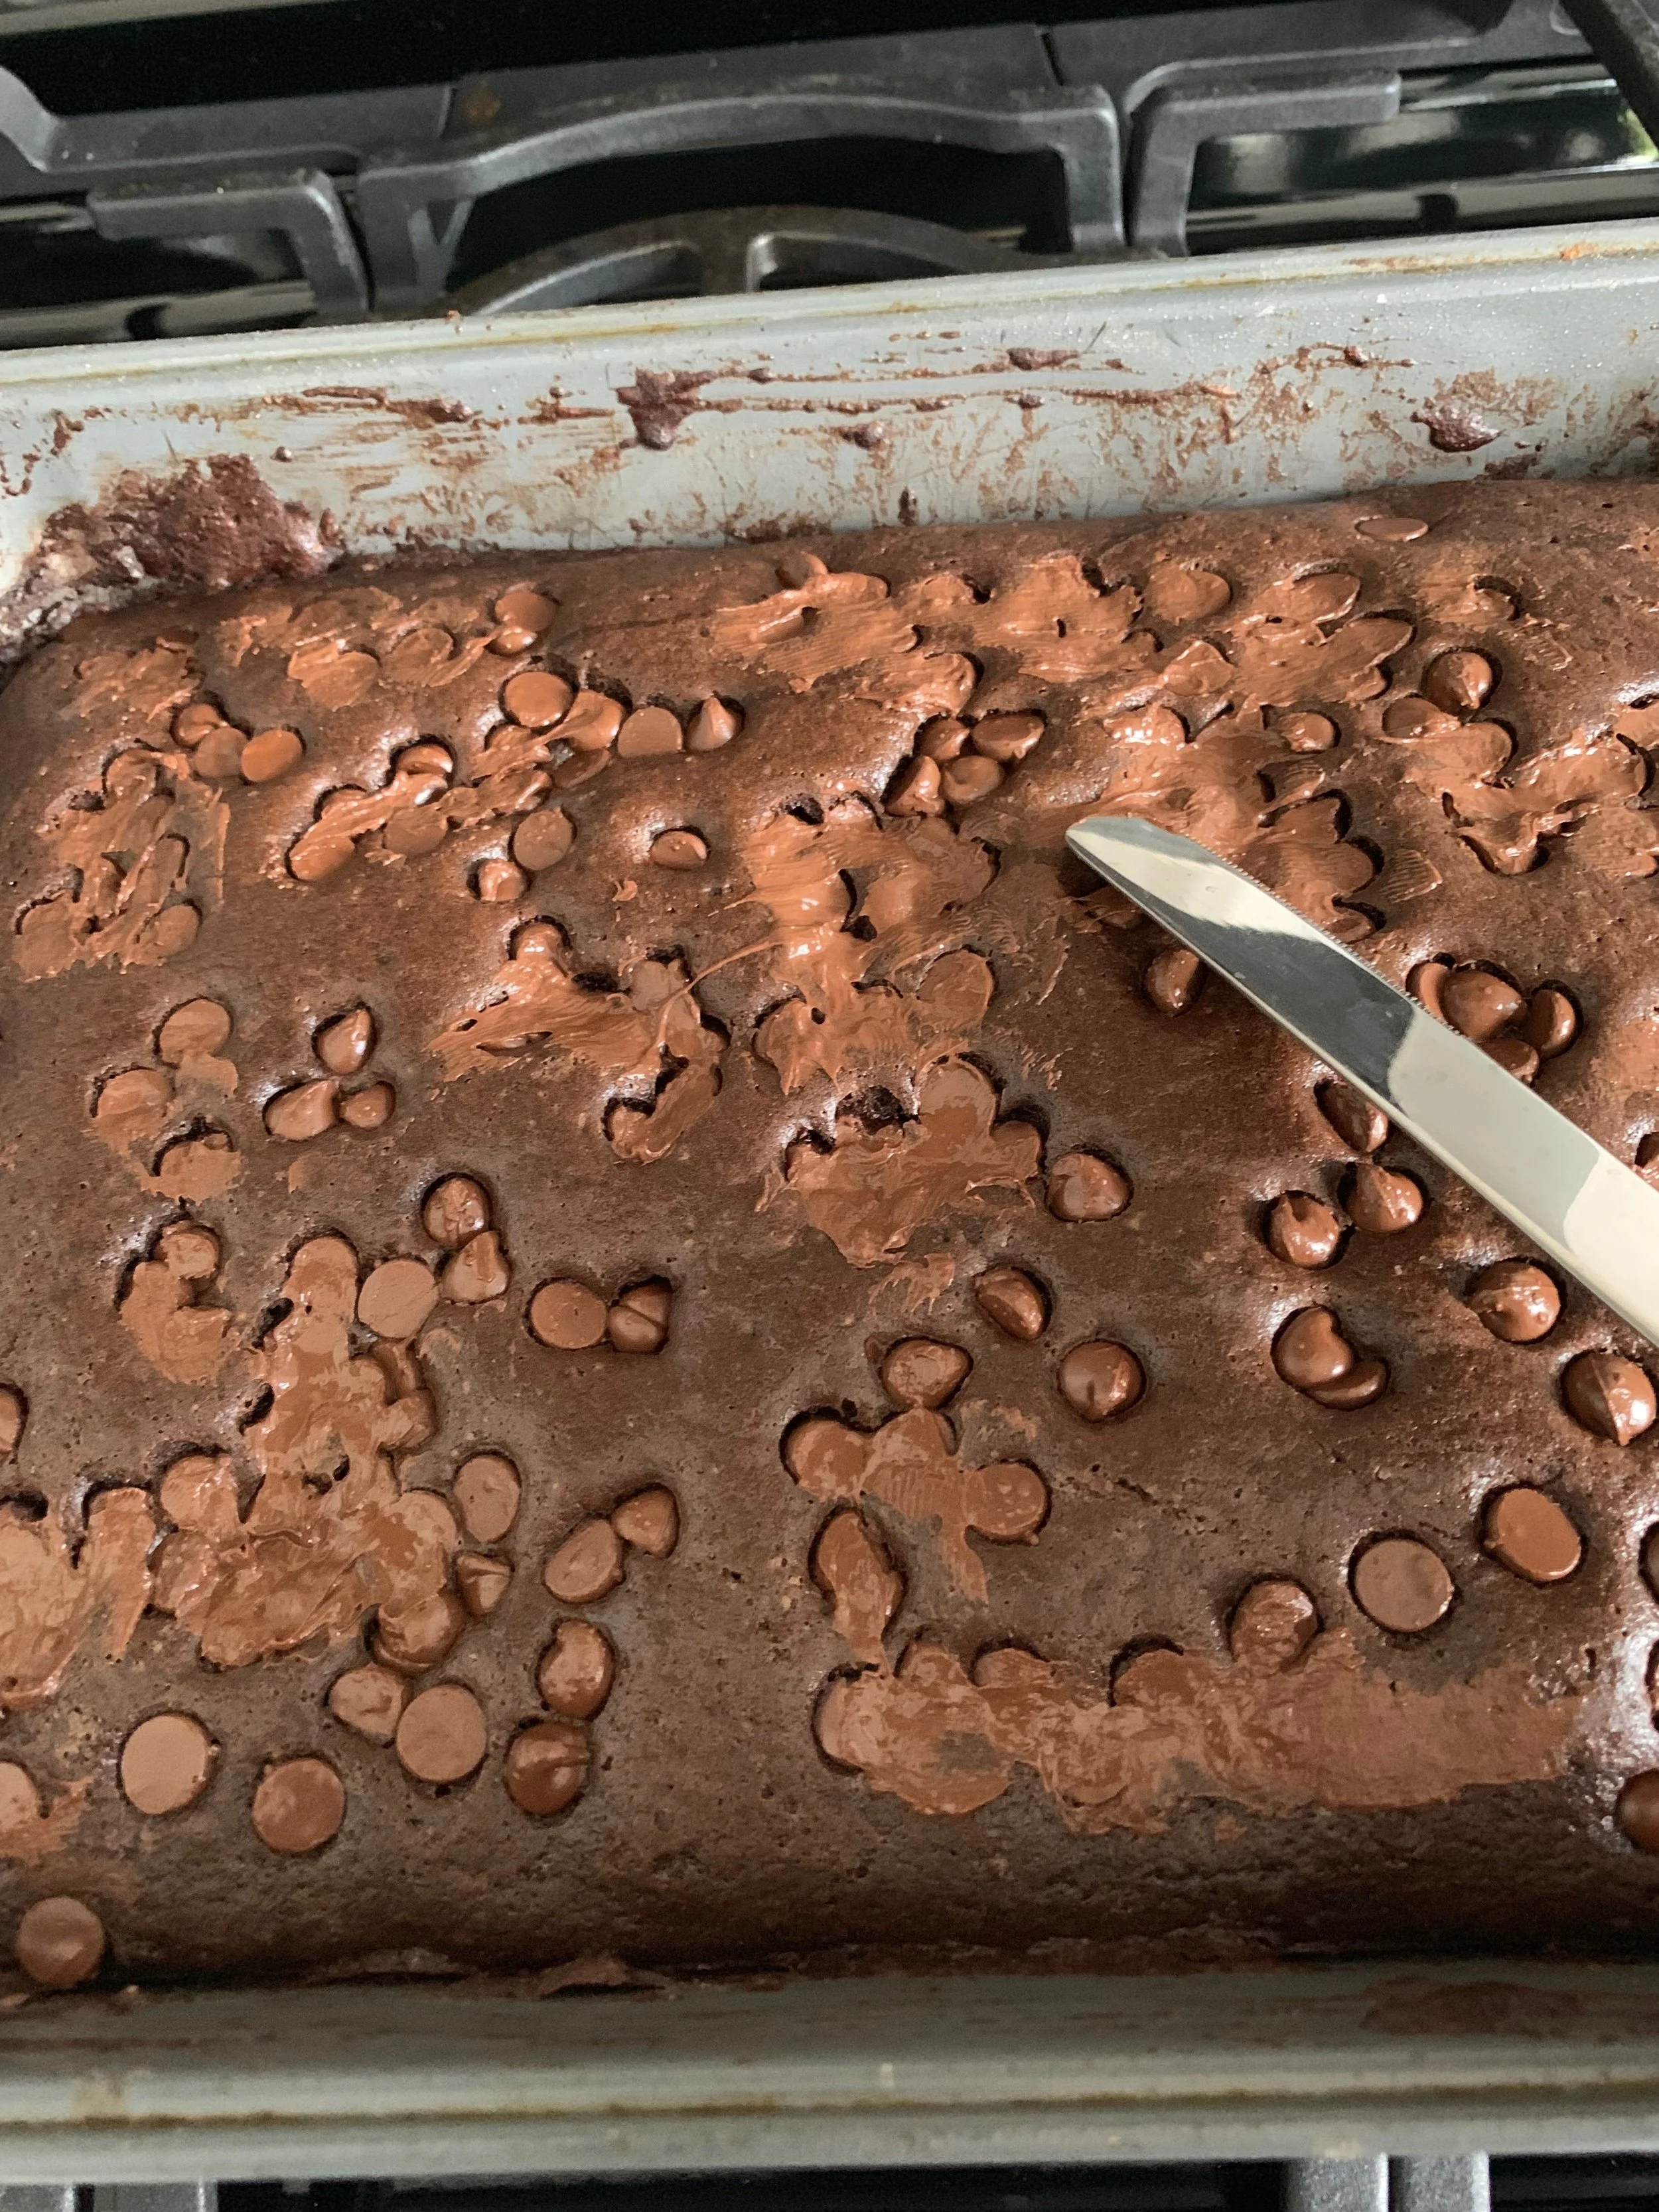
When the cake comes out of the oven take a knife and spread the melted chocolate chips over the top of the cake as though it is icing… and you’re done! Alternatively, you can omit the chocolate chips and sprinkle icing sugar over the top or use buttercream icing. This cake takes less than an hour from start to finish and is so good. My daughter asks for it all the time and I always make it for guests.

Do you have a go-to dessert recipe? Have you made a wacky cake before? Leave a comment and let us know!

Simple Cakewalk Ideas

It’s that time of year again! It’s cakewalk season at many schools! I will admit it – when I see the cakewalk memo in my daughter’s school bag I let out a big ol’ sigh. It’s not because I am opposed to cake walks, but because I am not a talented cake decorator and I hate the idea of disappointing the hundreds of little faces who walk from cake-to-cake trying to decide where to put their tickets. 

If you’re not familiar with a cakewalk, it’s a school fundraiser where a bunch of cakes and cupcakes (typically bought or baked by parents) are lined up on tables typically in a gymnasium. The kids walk around looking at all of the cakes and cupcakes, and then pay for tickets to deposit in the bags or boxes belonging to the cakes they hope to win. Once all of the kids have done this, tickets are drawn and kids win cakes! Usually it’s one cake/package of cupcakes per kid.

The pressure is on to get the cake with the most tickets!  

Or is it?  

I have learned over the years that most kids don’t really care what the cakes or cupcakes look like – especially the younger kids. What they do care about is the amount of chocolate, candy and sugar the cake has! The more the merrier! 

Having said this, it doesn’t alleviate the pressure as much as it should for me. I would love to be a talented cake decorator, but I am anything but! Every time I see a cake walk memo my mind spins with ideas of what I should create versus what I CAN create. I would love to be that mom who can create a life size minion cake that looks so realistic that you expect it to talk (this cake actually existed at one of my daughter’s cake walks – that mom is one heck of a cake decorator let me tell you!). 

I know some parents purchase baked goods and I believe that is great if that works for them because for me, it’s all about participating. I, however, like to bake (it’s the decorating part I loathe). So, I try and bake something “attractive” for each cake walk. The first couple of years I would bake a cake similar to what you see below from the blog of Mrs Rachel Brady. A simple chocolate cake with chocolate icing and Smarties as polka dots. Perfect.

Easy chocolate birthday cake via Mrs Rachel Brady

Then my daughter mentioned that many parents make cupcakes and break them into four containers with six cupcakes each or six containers with four cupcakes each. Genius! This means there are more “cakes” for the kids to win and covers off any parents who may not have contributed. So, now I make cupcakes. 

My standby, “Oh crap, I forgot the cakewalk is tomorrow!” cupcake is ‘worms and dirt.’ It’s the chocolate cupcakes and chocolate icing or crumbled up cookie topping with gummy worms. Quick and simple to make and a hit with the younger kids (so I hear anyway).

This year I wanted to venture out of my comfort zone. I asked on Twitter if anyone had thoughts and made it clear that cake decorating it not my forté. It was recommended that I check out Pinterest, but the only cakes I ever saw on there were way out of my talent-league. But then someone sent me a link to cakewalk cake ideas on Pinterest and right away I spotted something I could do! It was simple, fun and cute!

The little piggies cupcakes were so easy to make and when I dropped them off the students collecting the cakes thought they were adorable! I can see myself making these again for the next cakewalk. 

Suffice to say, I have learned to accept that I will never be the minion cake-making parent. Instead I am proud of myself for contributing something to every cakewalk my daughter has been a part of and that I made something that hopefully made a kid smile. Albeit, sometimes that kid is my own because she notices there are no tickets for my contribution and chooses to put her tickets in to win it. ;)

Are you a talented cake decorator? What are your favourite cake walk ideas?